In this step by step tutorial I will show you how to set up a Custom Post Type with ACPT, create a front-end submission form, and display submitted entries using Bricks Builder. This is a no-code workflow ideal for project portfolios, review systems, or any site where users need to submit posts from the front end. Follow each step and use the screenshots to match what you see in your WordPress admin.

Step 1: Create a Custom Post Type (Project)
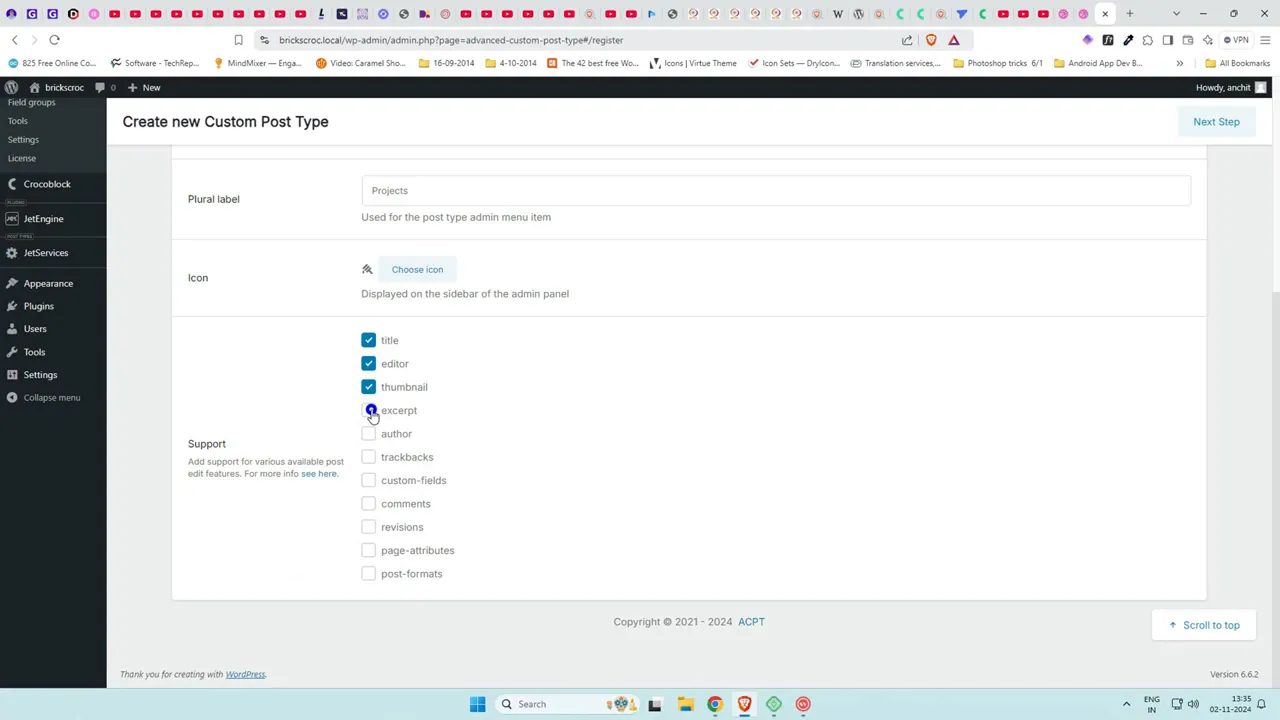
Start by creating a new custom post type named Project. In ACPT choose singular name Project and plural Projects. Pick an icon (I used a paintbrush) and disable parts you do not need such as excerpts or thumbnails if they are unnecessary for your use case. Make sure Archive is enabled if you intend to list posts later. Save the post type and refresh the admin panel. You should now see a Projects menu in the left admin column.
Step 2: Add Field Group and Fields for the Project Post Type
Click Field Group to add a new group and set the condition so these fields are only linked to the Project post type.

Now create the fields you need:
- Title (the project name) – use the post title so you do not need a separate field
- Client Name – Text field
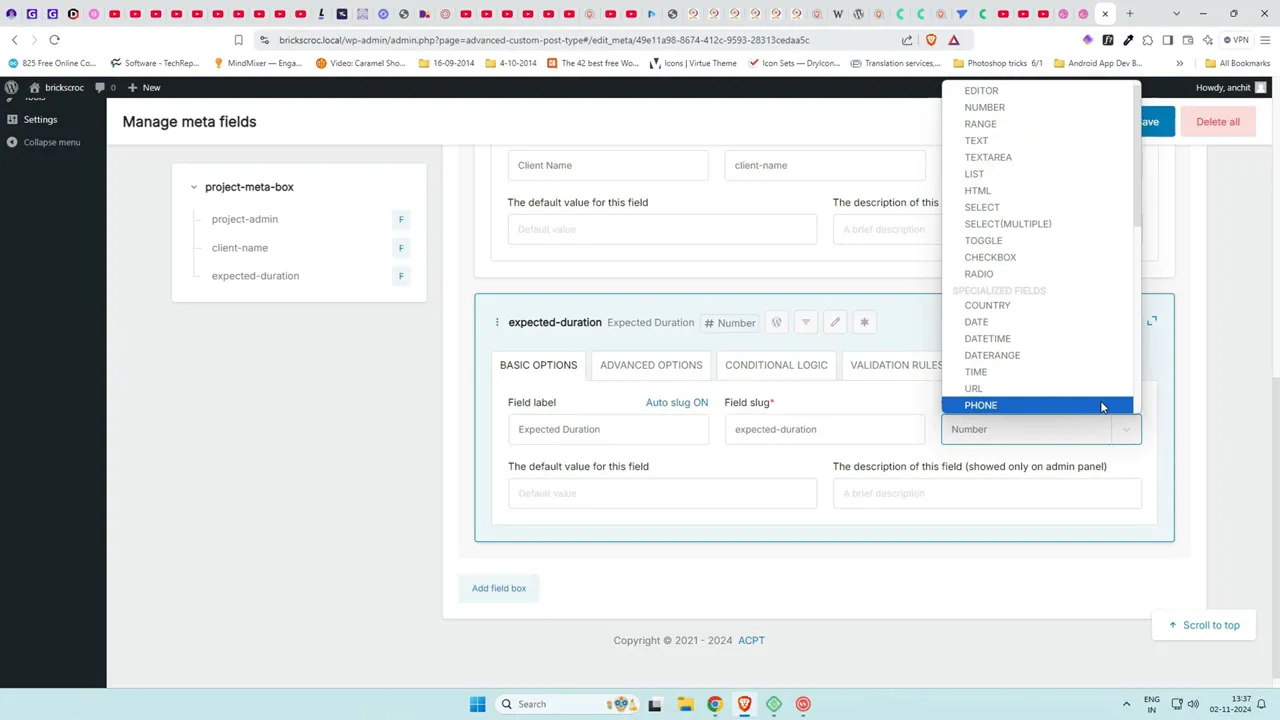
- Duration – Number field (set unit label to months in advanced options)
- Budget – Number or text; you can use text before dollar symbol in advanced options
- Priority – A rating field to represent importance (1 to 5)
- Description – Use the default post content if preferred
Tip on field widths: default fields often take full width which wastes space. In each field’s advanced options change the column width. Remember spacing between fields counts, so do not sum widths to 100. Try 90 for a row to leave room for gaps.
Step 3: Enable ACPT Forms and Create a New Form
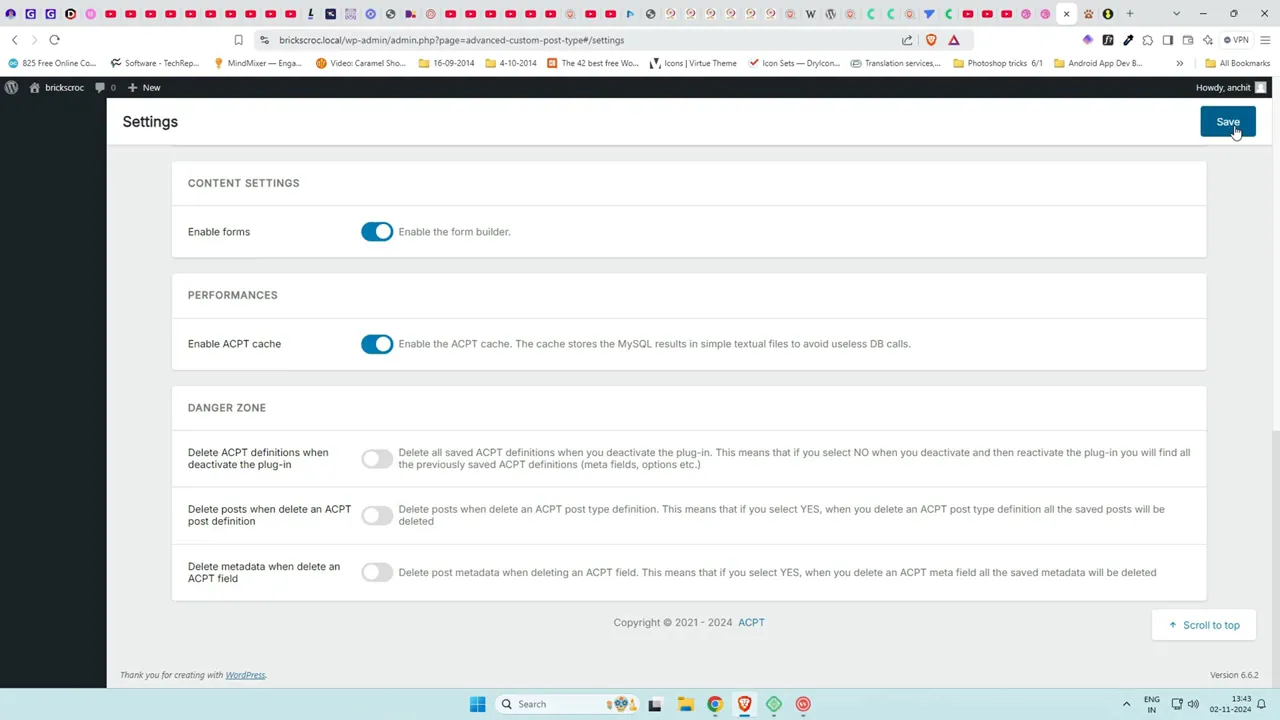
To allow front-end submissions, enable forms in ACPT settings. Go to ACPT > Settings, scroll down and toggle on ACPT Forms and caching if present. Save and refresh. A new entry called Forms will appear in the ACPT menu.
Create a new form, give it a descriptive name, and set Action to Post Management. Select the post type Project. Add a success message that users will see after submission. For Action choose Create New Post so submissions are stored as drafts for admin review.

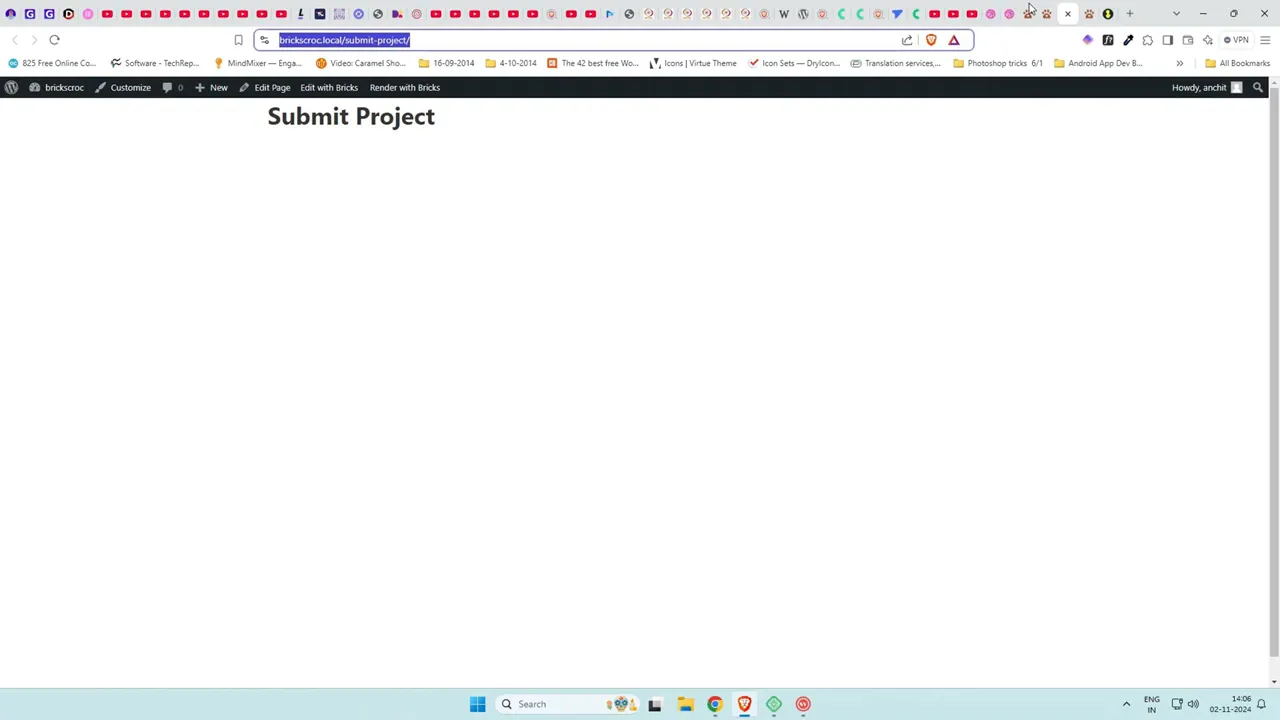
Save the form and copy the shortcode provided. Create a new page and paste the shortcode into a shortcode block and publish the page. At first you will only see the title where the form should be because you have not yet chosen which fields to display.
Step 4: Choose Which Fields Appear on the Front End
Go back to ACPT > Forms and click Manage for your form. On the left you will see all available fields from the Project post type. Click each field you want to include and reorder them by drag and drop.
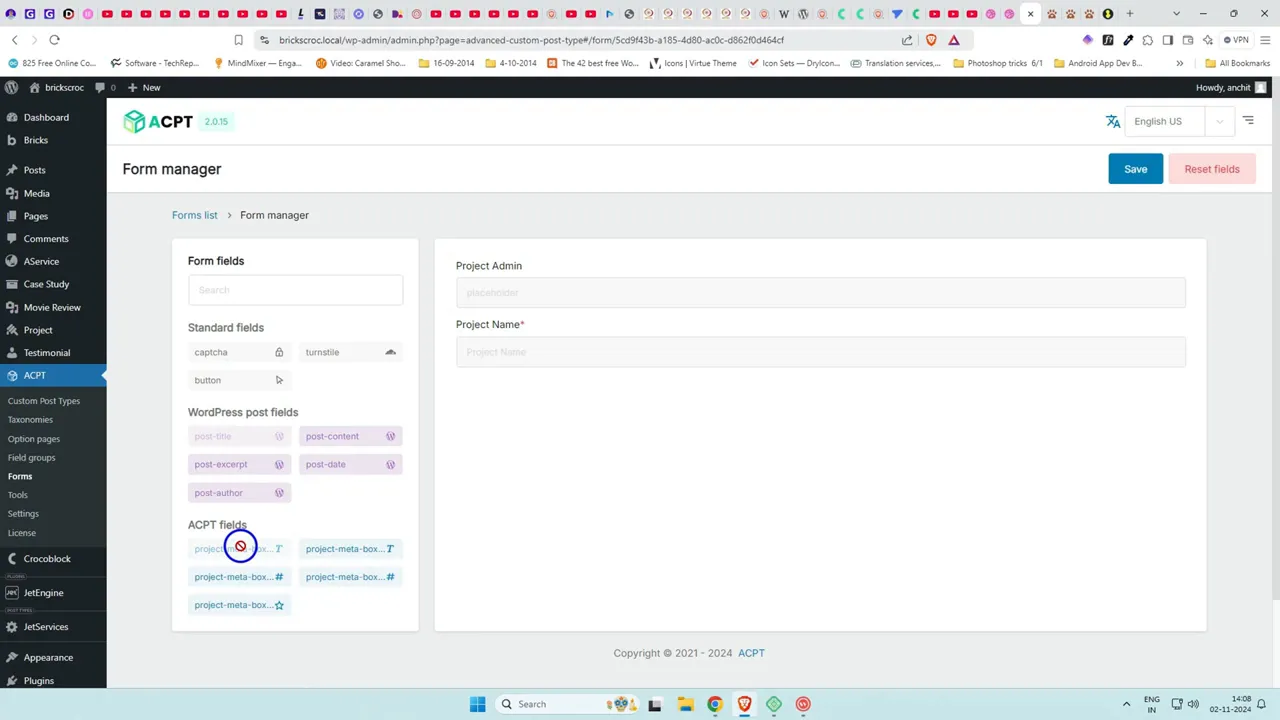
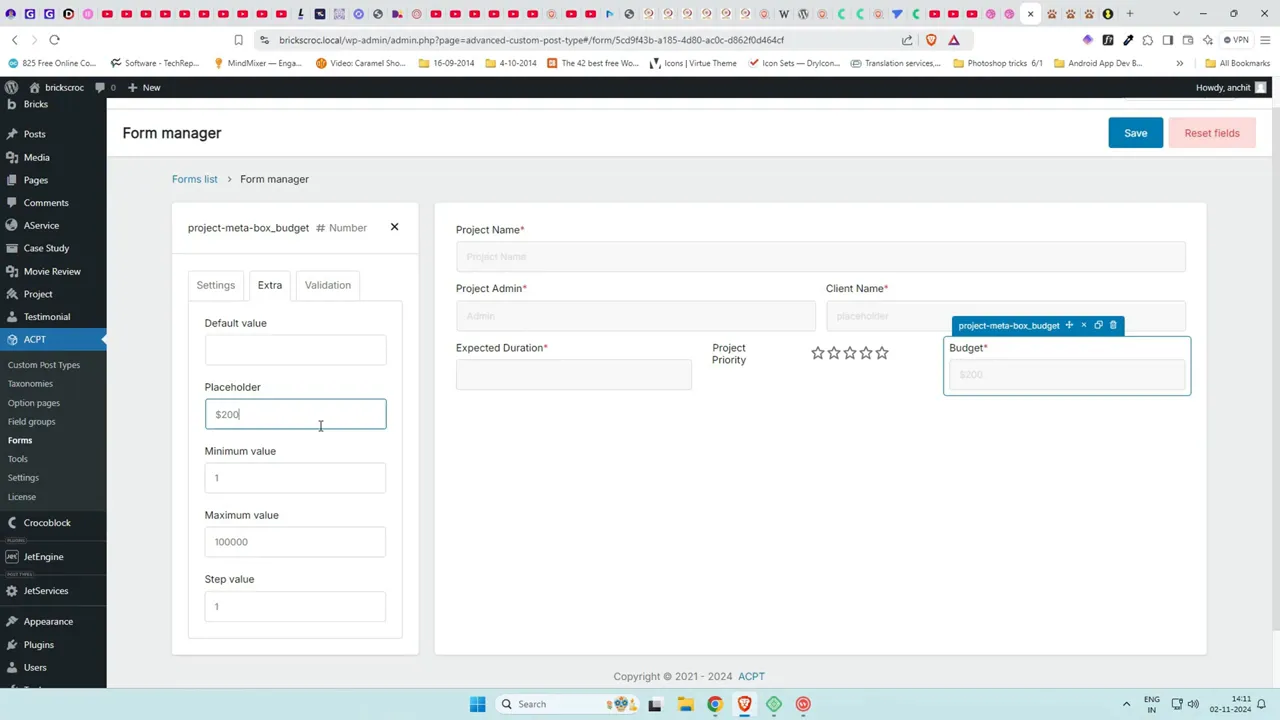
Configure validation (make fields required as needed). Under Settings you can change label positions, layout alignment, and give fields column widths. ACPT uses a 12-column grid so assign widths accordingly. Use the Extra tab to set placeholder text and maximum values for number fields (for example set duration max to 13 to be safe).

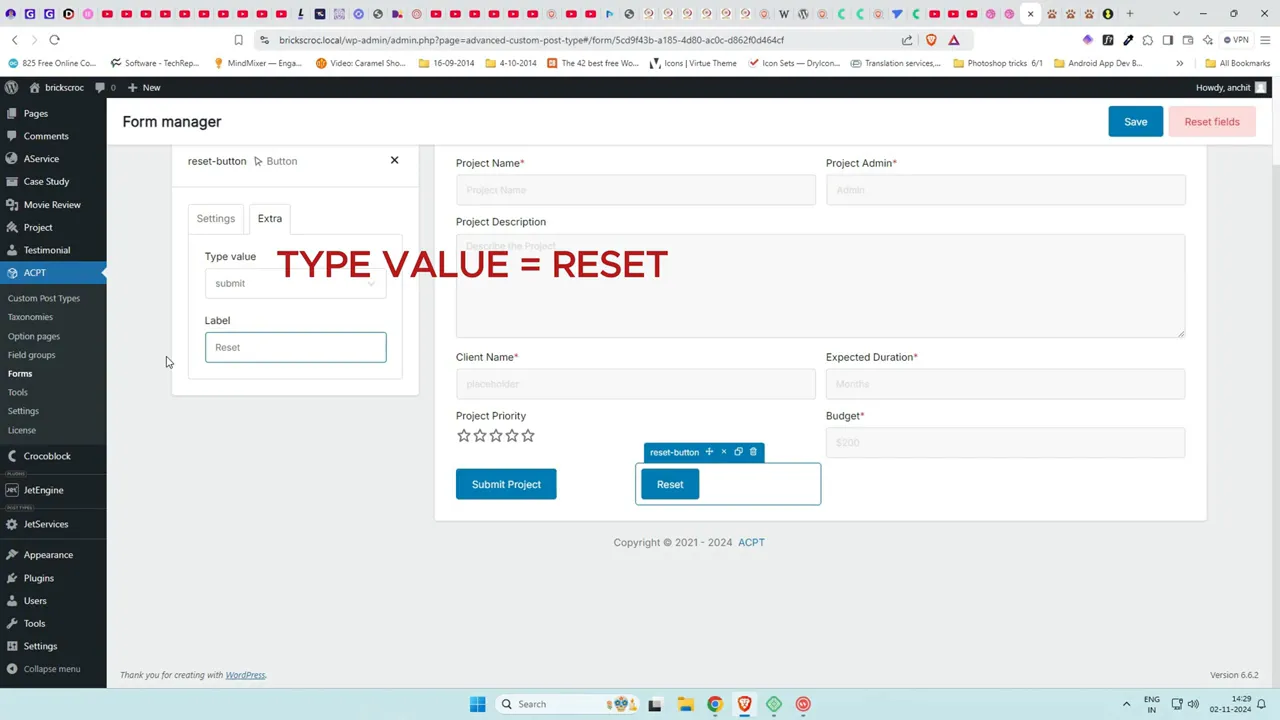
Step 5: Add Submit and Reset Buttons
Add a button field and set type to Submit. Add another button and set type to Reset if you want users to be able to clear the form. Name your buttons clearly like Submit Project and Reset. For Reset ensure the type value is set to reset, not submit.
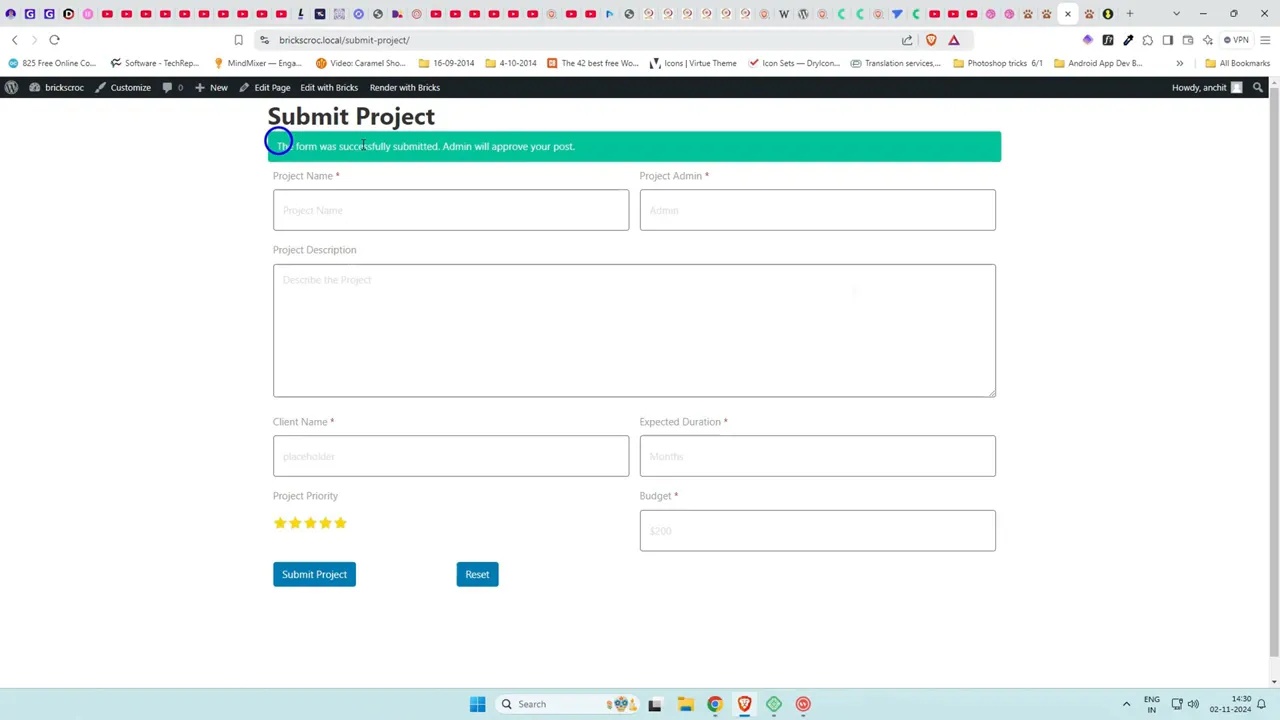
Test the form on the front end by submitting a few dummy projects. After submission the success message will appear. In the WordPress admin you will see new draft posts created under Projects. Use Quick Edit or open the draft to publish it.
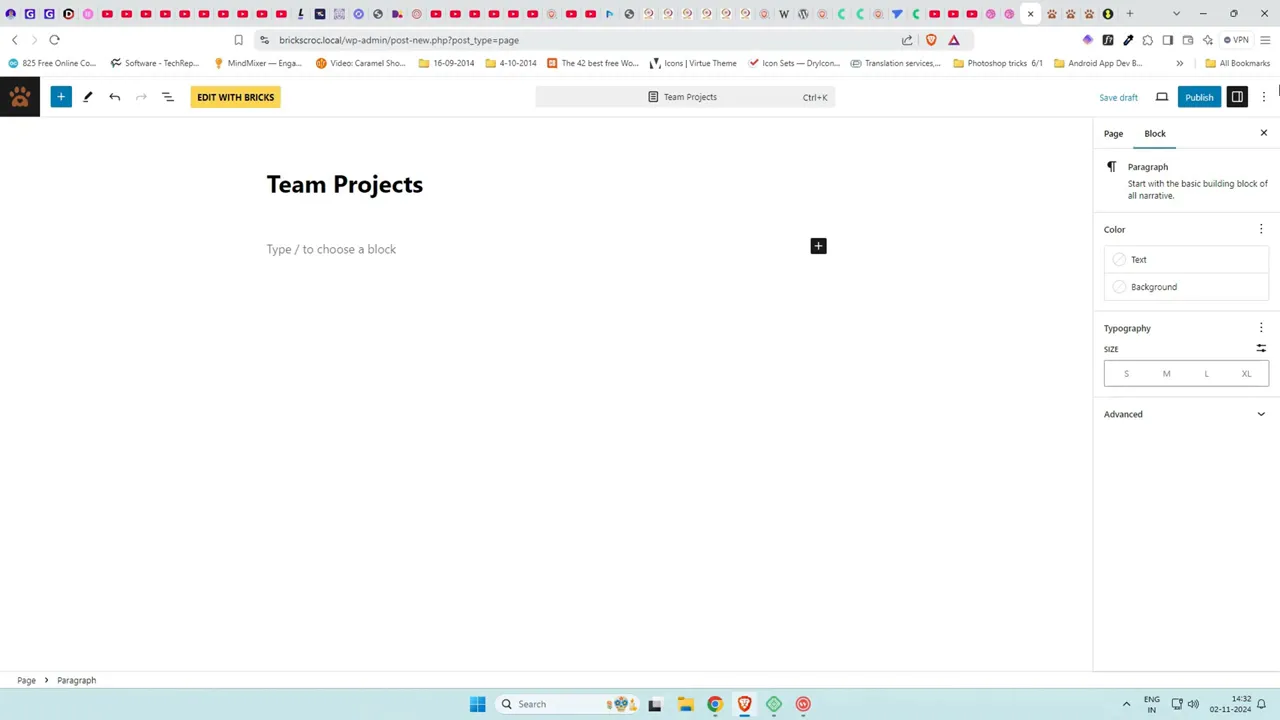
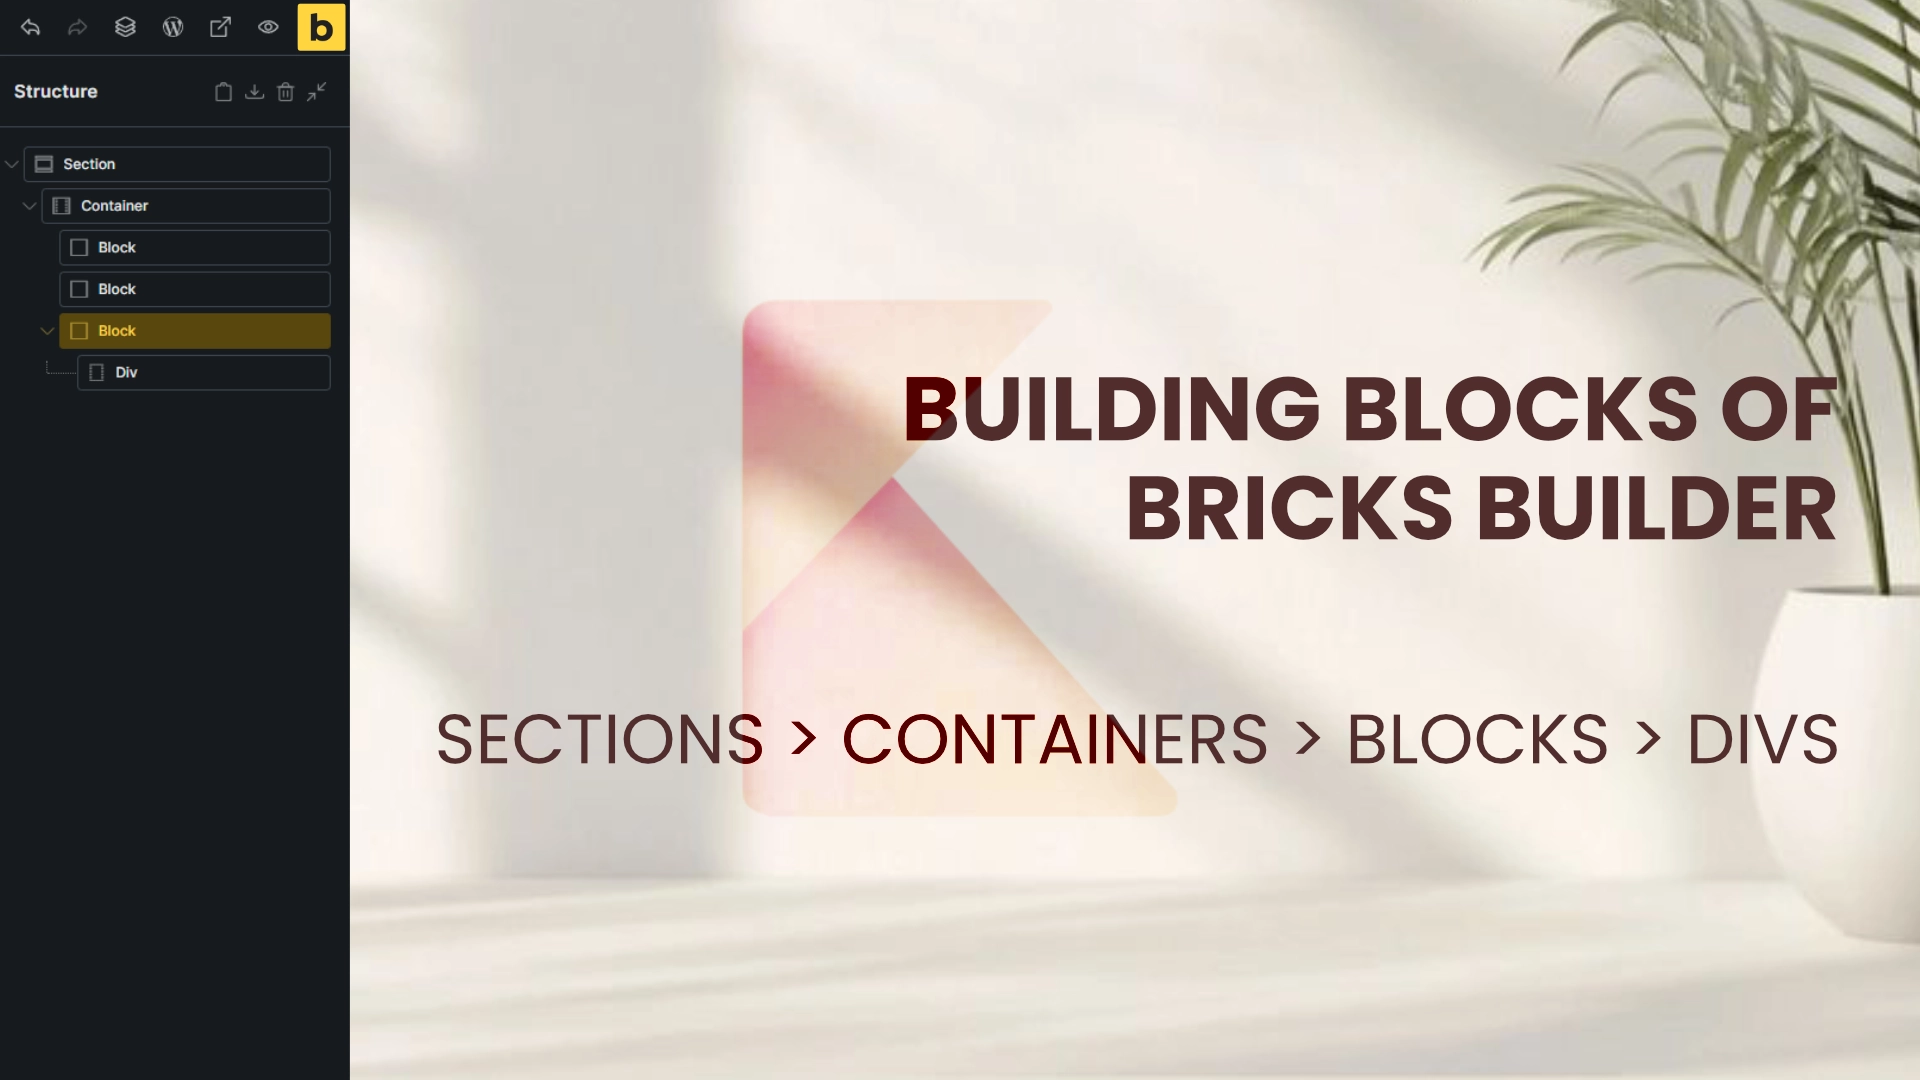
Step 6: Create a Page to Display Submitted Projects with Bricks Builder
Now create a page to display projects. Name it Team Projects and click Edit with Bricks. The display will be built using a section, container, and a Block that will act as the repeating element for each project.
Inside the Block add the elements you want to show for each project: Heading, Rich Text, Basic Text, Rating, and so on. Use Bricks dynamic tags (the thunderbolt icon) to pull in dynamic content:
- Heading: Dynamic Post Title
- Client Name: Dynamic field
- Posted By: Dynamic author name
- Description: Dynamic post content
- Priority: Dynamic rating field (set filled and unfilled colors)

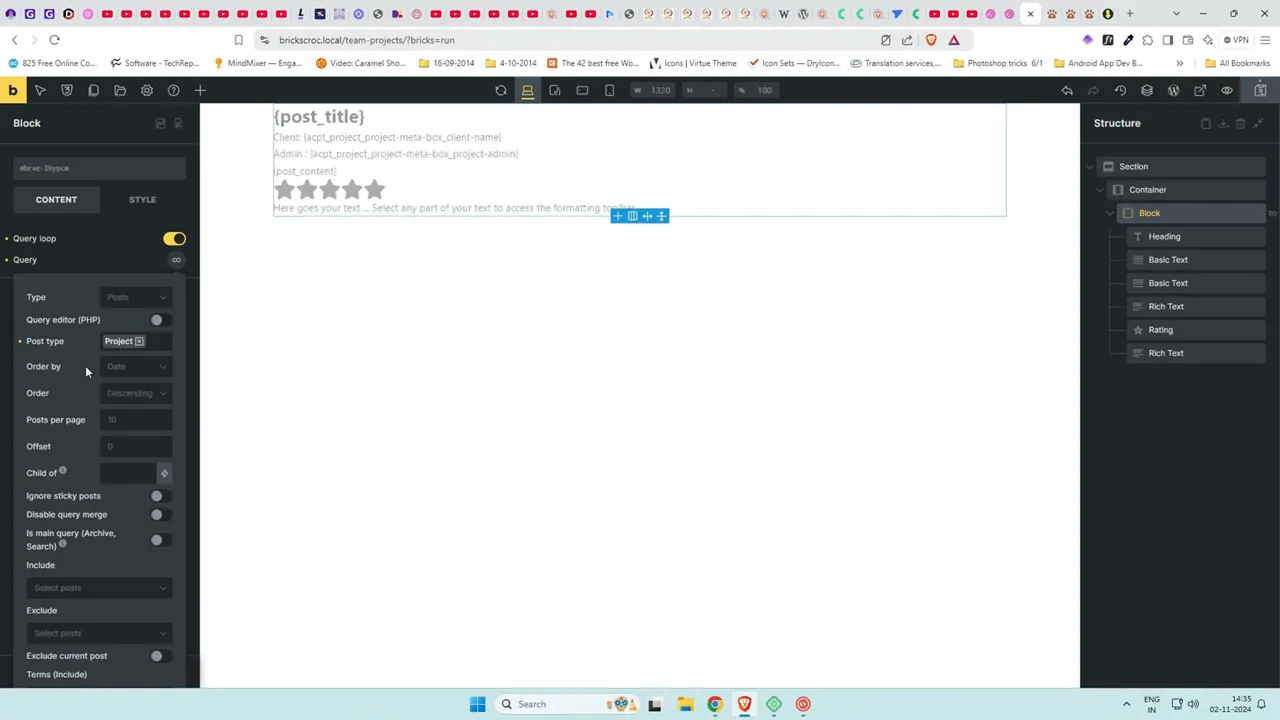
Step 7: Enable Query Loop to Pull All Project Posts
On the Block element enable Query Loop and click the infinity icon to open settings. Set Post Type to Project and configure ordering (ascending or descending). Save the page and switch to preview to see the repeated project entries populated automatically.
Step 8: Style and Arrange the Project List
Fine tune layout and spacing: change the container direction to vertical or horizontal depending on how you want the list. Add margin and gap between Block items, add padding, box-shadow, and reduce overlay color opacity for better visual separation. Add a section title above the Block and adjust top padding so the layout looks balanced.
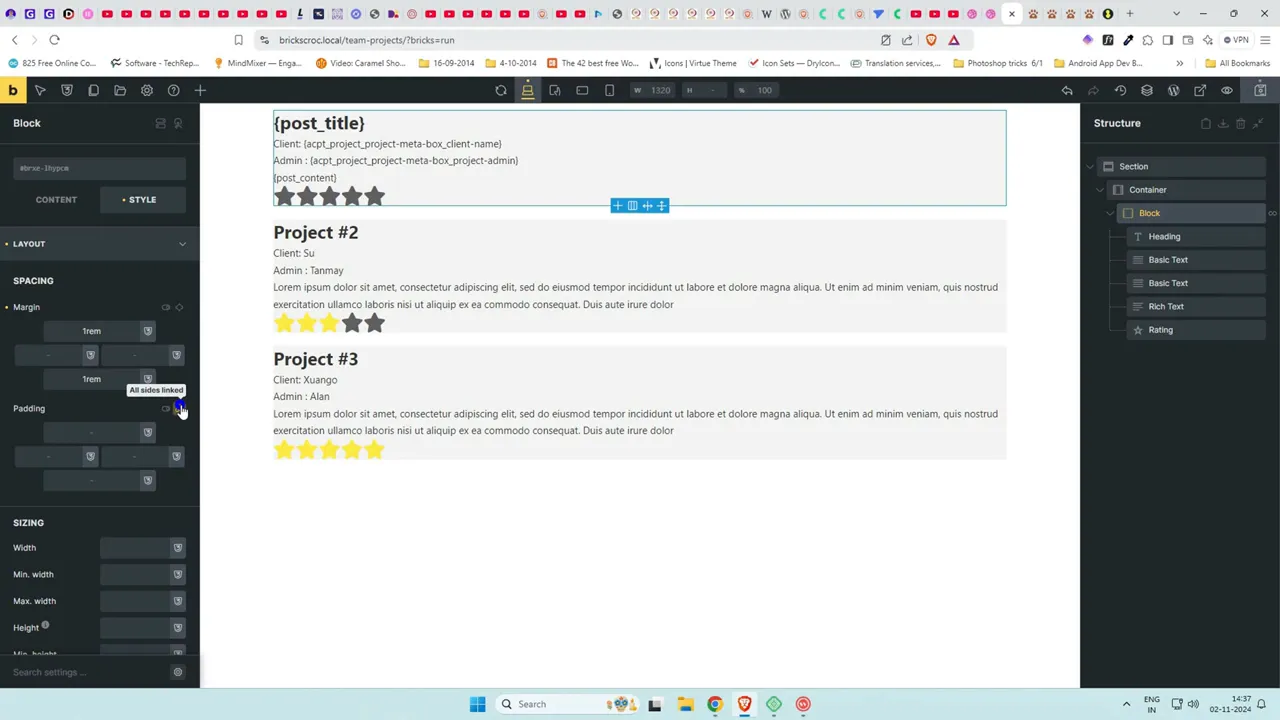
Now test the full flow: submit a new project from the front-end form, approve/publish it in admin, and verify it appears on the Projects page built with Bricks. The posts should populate automatically once published.
Step 9: Common Uses and Tips
This setup works great for internal project tracking, user reviews, testimonials, or any situation where you want visitors to submit content. A few practical tips:
- Keep front-end fields minimal to reduce friction for users.
- Use Draft status for new submissions so an admin can moderate content before publishing.
- Leverage ACPT field validation for required fields to ensure quality submissions.
- Style the Bricks query loop to match your site design and mobile responsiveness.
- For currency and units, use placeholders or prefixes/suffixes in field advanced settings.
FAQ
Can I let users submit posts without creating drafts automatically?
Yes. In the ACPT form action settings you can choose to publish immediately instead of creating a draft. However it is safer to keep submissions as drafts for moderation unless you fully trust the source of submissions.
How do I show the rating field dynamically in Bricks?
Add a Rating element inside the Block and use the thunderbolt icon to select the dynamic rating field you created in ACPT. Then set the filled and empty star colors to match your design.
Why don’t suffixes or prefixes show on the front-end form?
Some ACPT field display options like suffix or prefix may only appear when using shortcodes. If they do not display in the form builder output, add a label or placeholder to communicate the unit or currency to the user.
Can I arrange fields in multiple columns on the front-end form?
Yes. ACPT supports a 12-column grid for field widths. Assign column widths to each field in the form settings to create multi-column layouts. Leave a bit of width for gaps to avoid reaching the full 100 percent width.
What if I want users to edit existing posts from the front end?
ACPT forms can be configured for post editing as well. Set the form action to manage existing posts and pass the post ID to the form so users can update content. Ensure proper permissions so only authorized users can edit posts.
Does this workflow require coding?
No. This tutorial uses ACPT and Bricks Builder to accomplish front-end submissions and display without writing custom code. Both plugins provide the UI to build forms and dynamic templates visually.
That is the full no-code flow for front-end form submission with ACPT and Bricks Builder. Use this to accept project submissions, reviews, testimonials, or any user content and display it dynamically on your site. If you need clarification on any step try recreating it in a staging environment and adjust field settings and styling to match your site design.

