In today’s tutorial, we’re diving into how to create a dynamic services section in Bricks Builder using two powerful WordPress tools: ACPT and JetEngine from Crocoblock. By exploring both approaches, you’ll gain a comprehensive understanding of their similarities and differences, helping you choose the right tool for your next project.
Designing the Layout with Figma
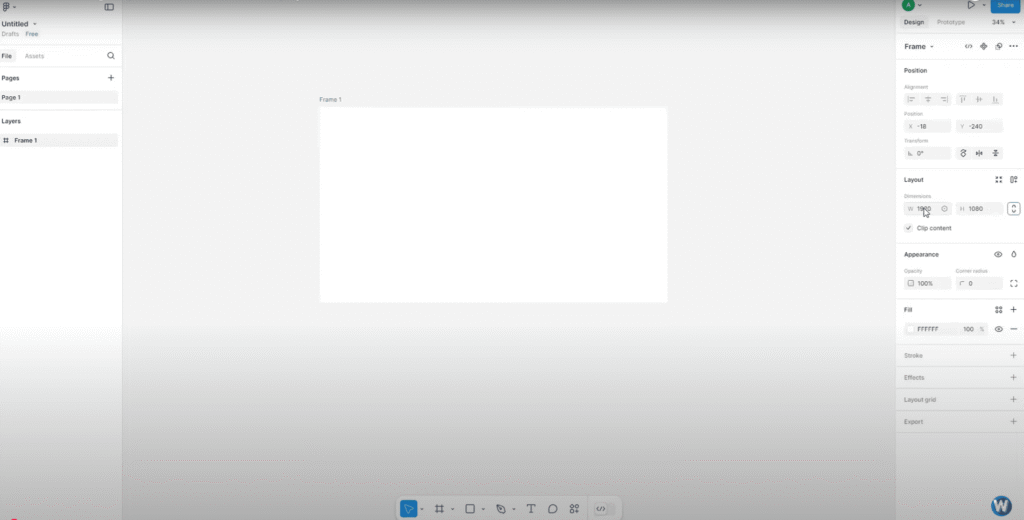
To kick things off, we’ll sketch a basic design using Figma, a free tool that’s perfect for simple wireframes and validating ideas. We will be working with a 12-column layout and a boxed width of 1200 pixels.
First, create a frame with dimensions of 1920×1080 to match a standard monitor resolution. The area outside the 1200px width serves as a margin. By subtracting 1200 from 1920, we find that the total margin is 720 pixels, which gives us 360 pixels of margin on each side.
Since this isn’t a Figma tutorial, I’ll speed through the creation of the temporary design. We’ll set up two frames: one for ACPT, focusing on digital agency services, and another for JetEngine, highlighting pet grooming services. It’s worth noting that while icons could be made dynamic, neither ACPT nor JetEngine currently offer a straightforward way to implement this. We’ll skip the dynamic icon setup for now and cover it in a future video.
Getting Started with ACPT
The tutorial assumes you have a basic working knowledge of Bricks and WordPress, as well as an understanding of custom fields. Let’s start by installing the ACPT and JetEngine plugins on your WordPress site.
Once installed, click on the ACPT menu in the left admin menu panel and activate your license. You’ll land on the custom post type page where you can create a new post type dedicated to your services.

To do this, click on “Add New Post Type” and name it “AServices” with an uppercase “AS” for easy recognition. Remember, the singular form is “AService” and the plural is “AServices.” Choose an icon to represent this in the side menu bar; a wrench or a web-related symbol works well.
Next, you’ll specify the type of fields you want to support. Since we won’t be using images or excerpts, remove the thumbnail and excerpt options. We are keeping this simple for a basic post type, but you can always add fields later as needed.
After configuring these settings, click “Next Step.” This section doesn’t need much adjustment, so click “Next” again. Ensure that the archive option is checked at the bottom, then save your post type. Congratulations, you’ve created your custom post type!
Adding Fields to Your Post Type
Now that you have a custom post type, it’s time to add fields. Fields define what kind of data your post type will contain, including their names and formats. To keep it straightforward, let’s add a couple of fields that can be displayed according to our Figma reference.
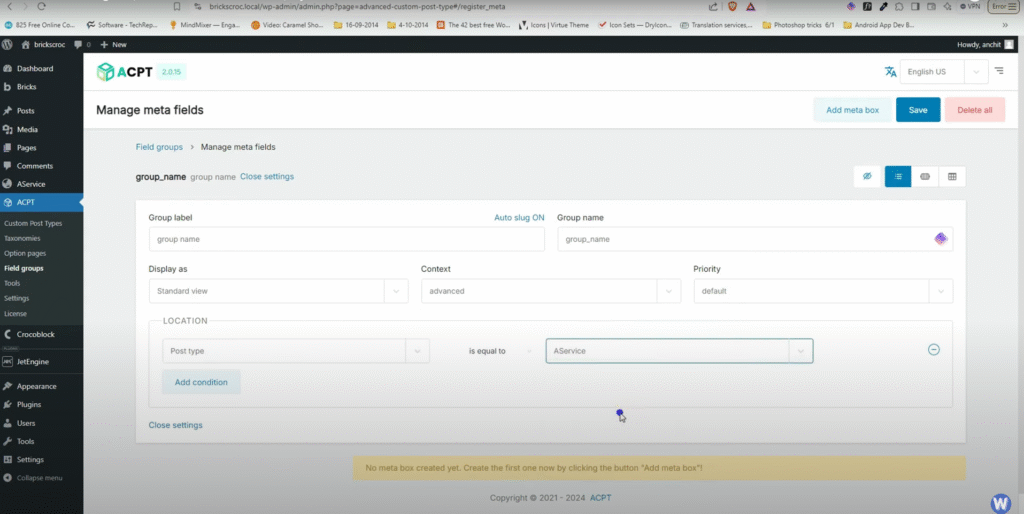
Click on “Field Groups” in the left admin panel and then “Create New Meta Group.” Name this field group and set a condition to associate these fields with the Services post type. If you don’t set a condition, the fields will show up on all post types, which is not what we want.
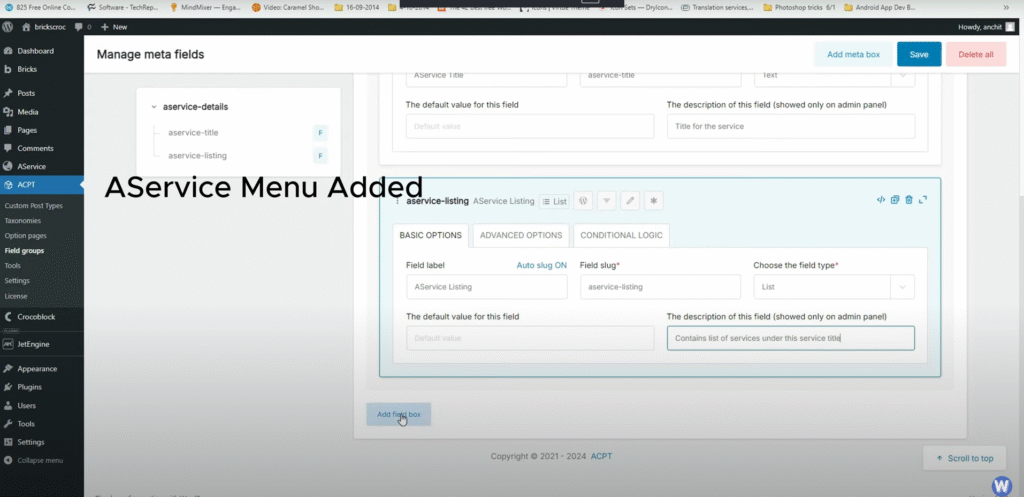
After saving the field group, you can create additional groups of data to organize the fields better. Start by adding a field called “Name.” While this may seem redundant since the title of the service will also serve as its name, it’s useful for demonstrating custom fields and loops in action.
Next, add a field called “AServices Listing.” This will create a list of sub-services offered under a particular service heading, like pet grooming services that might include nail cutting and bathing. This field type will be a list of single field type items, which are not directly available in JetEngine.
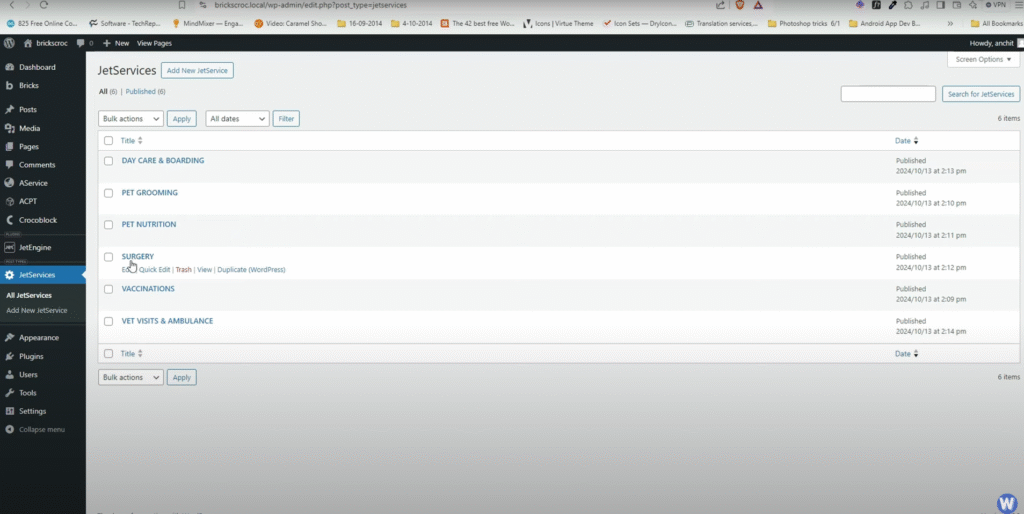
Once you’ve added these fields, click “Save.” You’ll notice a “AServices” menu on the left admin panel where you can see the posts you’ve made under that post type. I’ve pre-made a few posts to help with the template creation in Bricks.
Creating the Template in Bricks
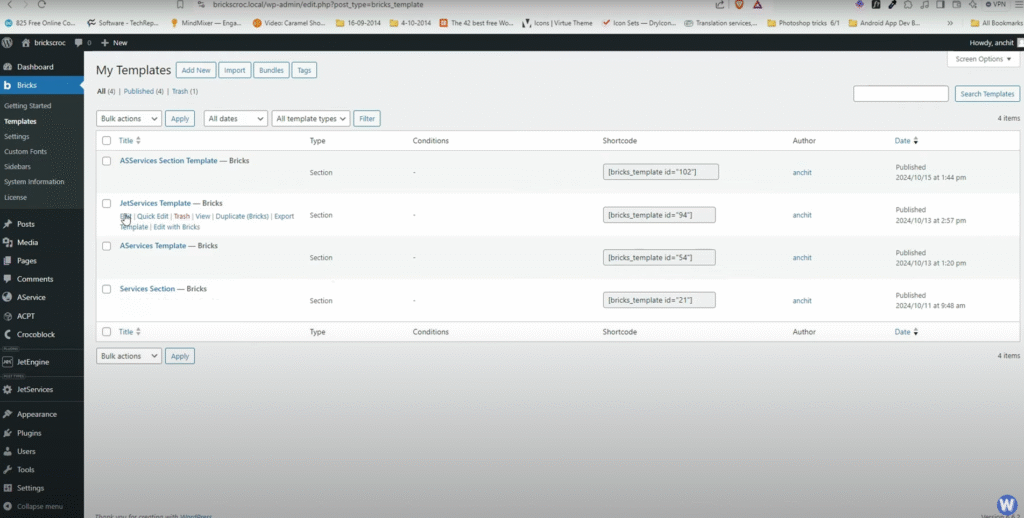
To showcase our services in a well-designed format, it’s time to create a template in Bricks. Under the Bricks admin menu, click on “Templates.” You should see the templates you had previously made. Click on “Add New” to create a new template.
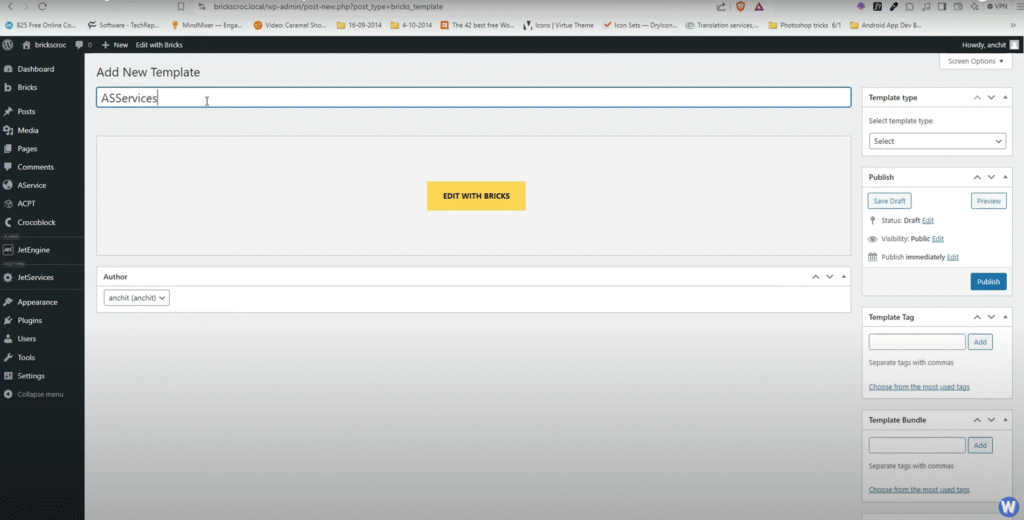
Name it accordingly, and set the template type to “Section” since we’re creating a small segment of a website. After publishing, let’s preview the template you made earlier. Click on “Edit with Bricks” to open it in a new tab.
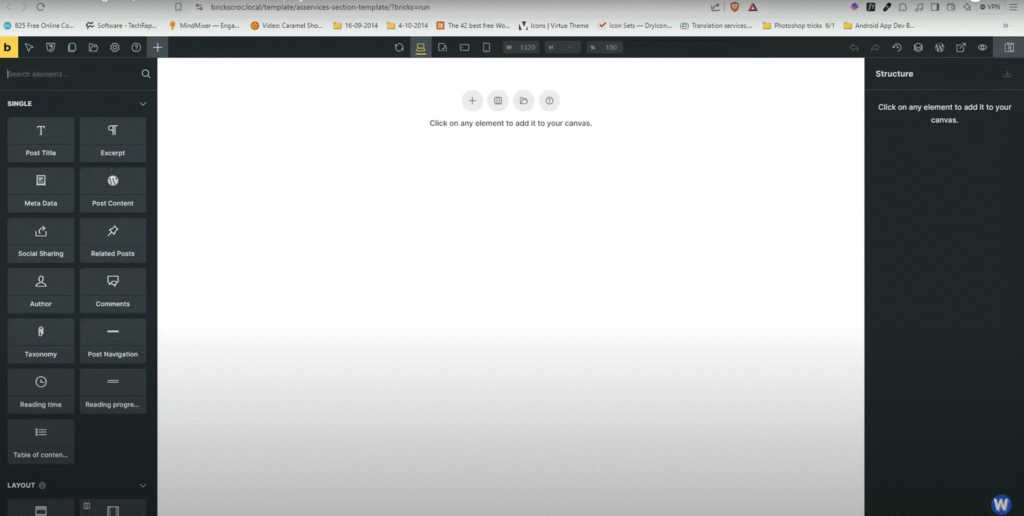
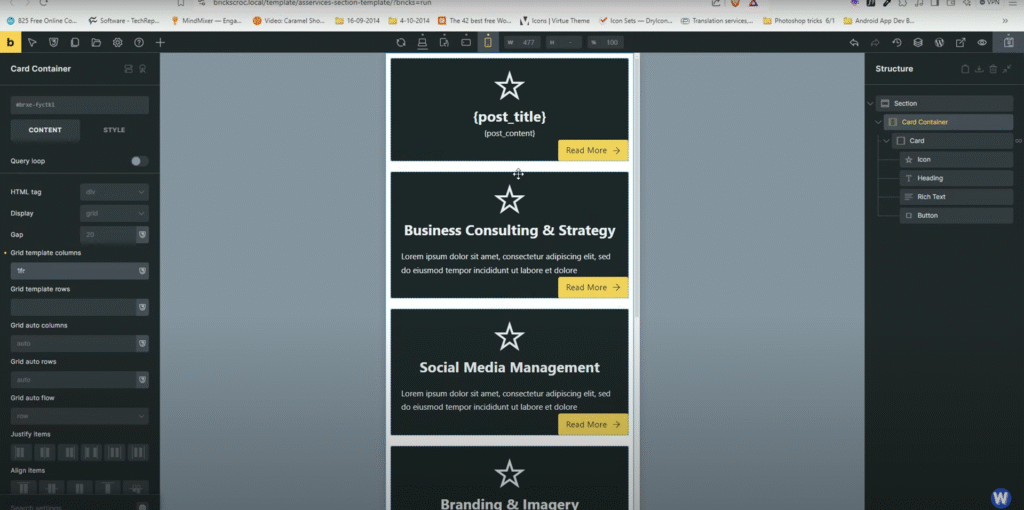
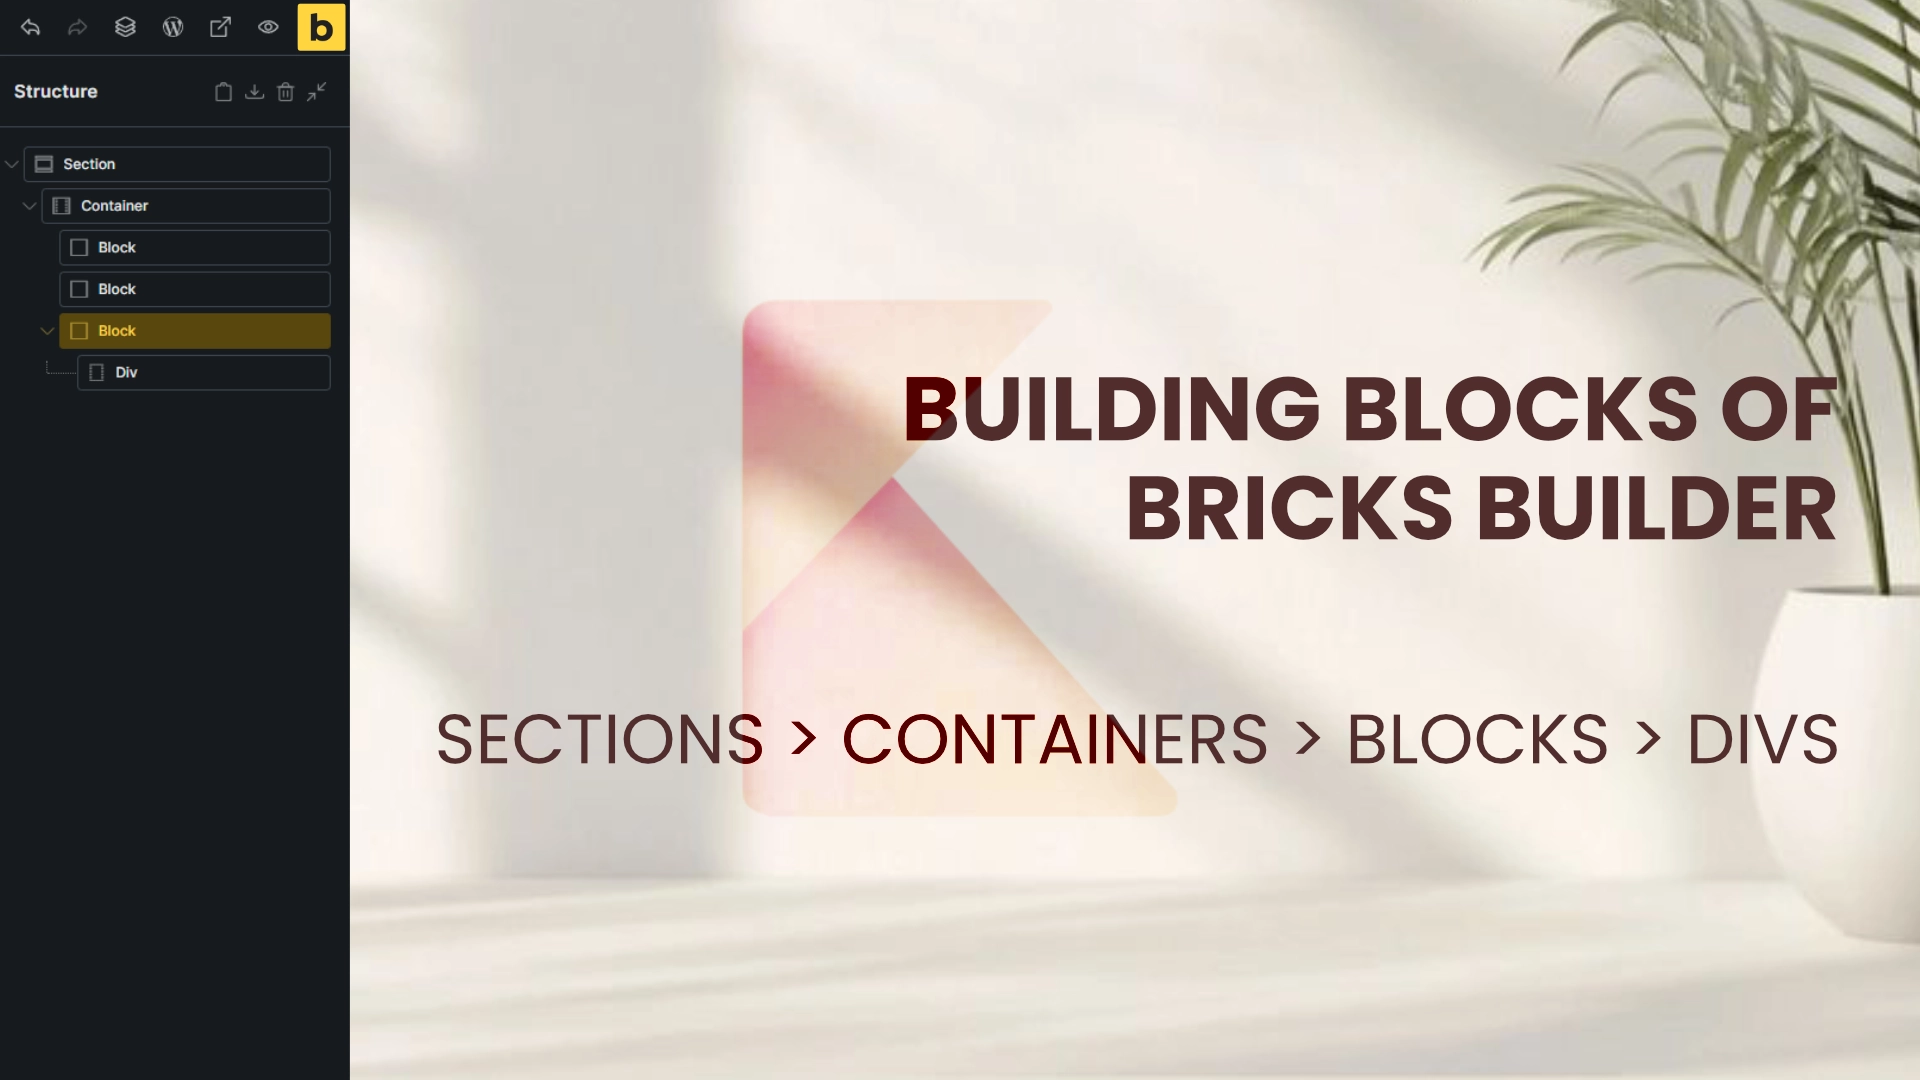
In the Bricks template page, hover over your service template to view it. Currently, we don’t have a dynamic icon (Video made during Version 1.8, might be available in version 2.0.2); a static icon common to all can be added. Coming back to our new template, click on the plus icon in the center of the screen, which will give you a default section and container.
Under the right navigation panel, add a block element and name this block “Card” while naming the container “Card Container.” The goal is to repeat the card three times per row within the card container. Instead of manually making the cards, we can create them dynamically using a loop.
Using Loops to Display Dynamic Content
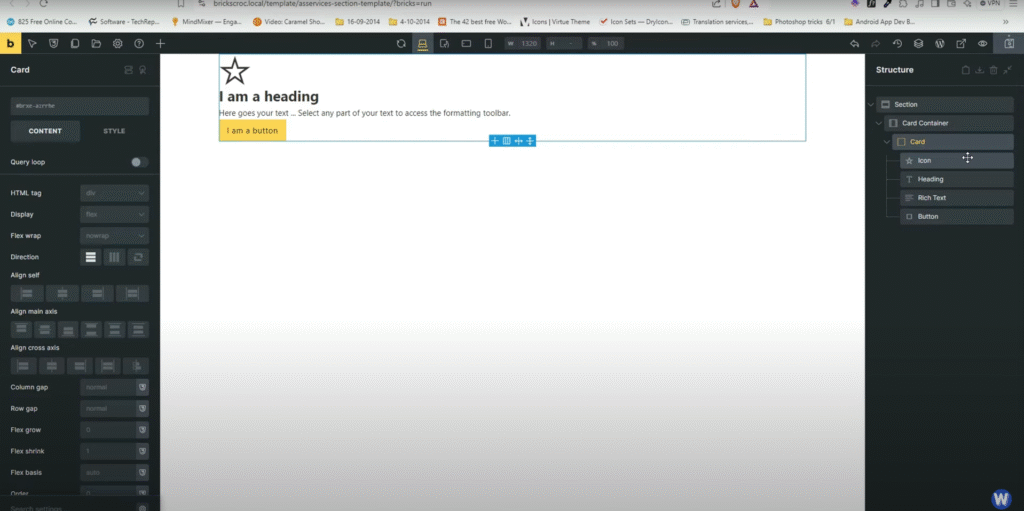
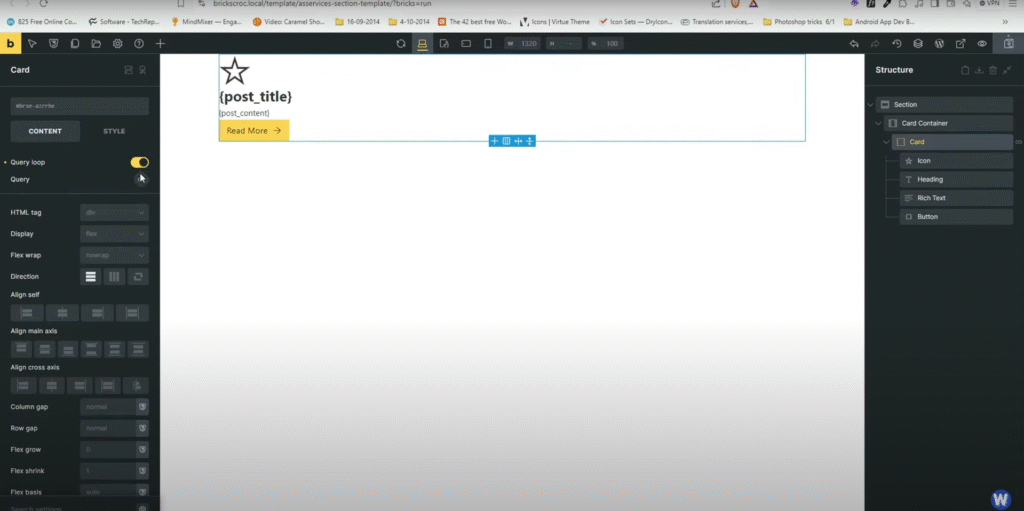
The loop reads the database and outputs the data as per our request. Select the card in the right panel, then search for “Icon” in the left panel and add it. Follow this by adding a heading, a rich text editor, and a button based on our design, which includes an icon, heading, content, and a button that says “Read More.”
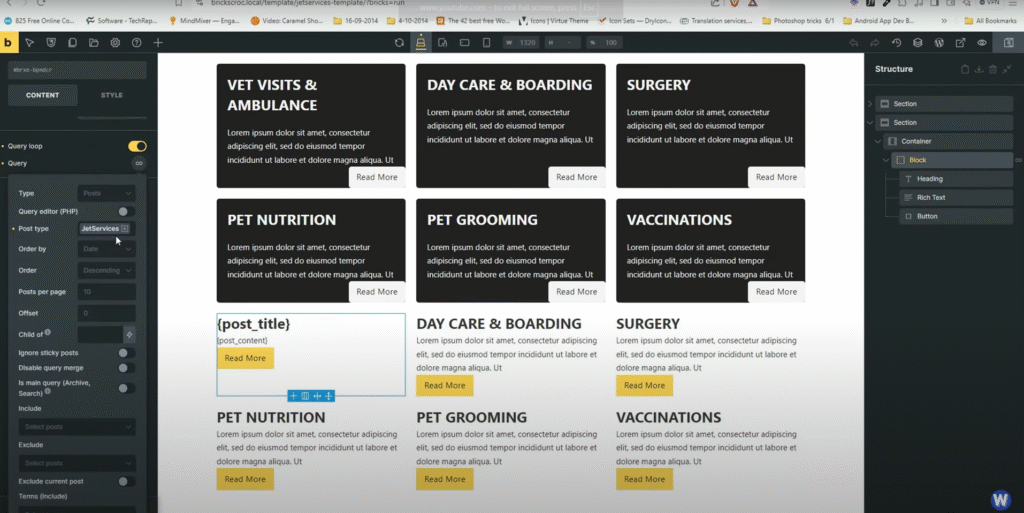
Once you’ve added these elements, click on the card in the right panel again. In the properties panel, click on the heading and delete the default text. Use the dynamic data button (the lightning bolt) to select the post title, which will pull the title of the post we are referring to once the loop is activated.
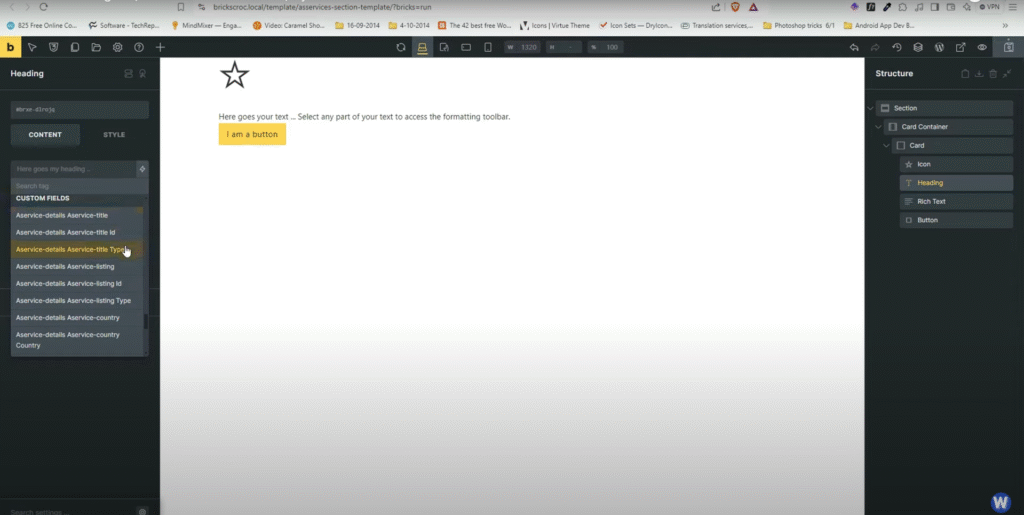
Repeat this process for the rich text editor and the button, changing the default text to “Read More” and linking it as dynamic data. You can also add an arrow icon to this button for added visual interest.
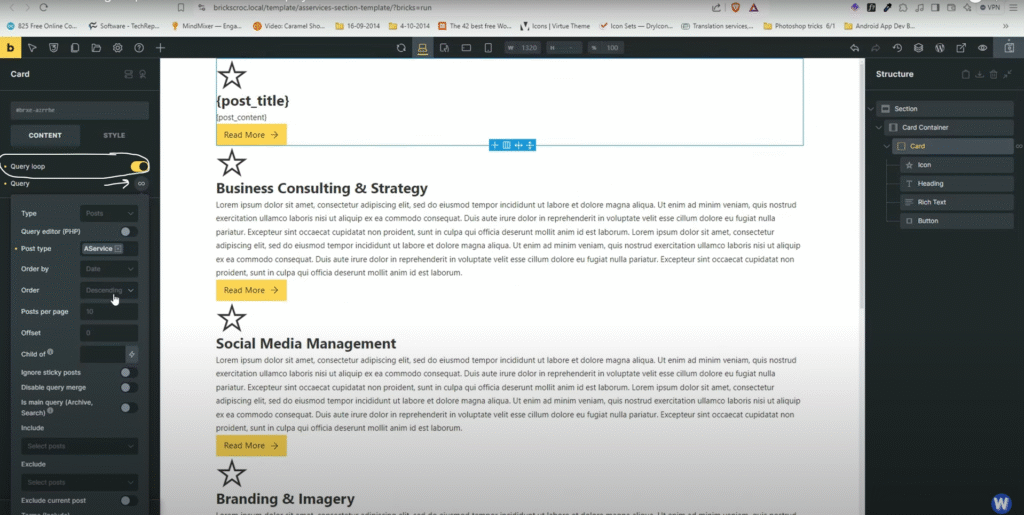
Currently, the page shows no content from the services, only one is shown. To fix this, click on the card and in the property panel, toggle the query button. This makes the card a looping object. Click on the infinite symbol and filter which posts to show by selecting “Posts” under post types and then “AServices.” Now you should see the services content you entered earlier.
Adjusting the Layout for Different Screen Sizes
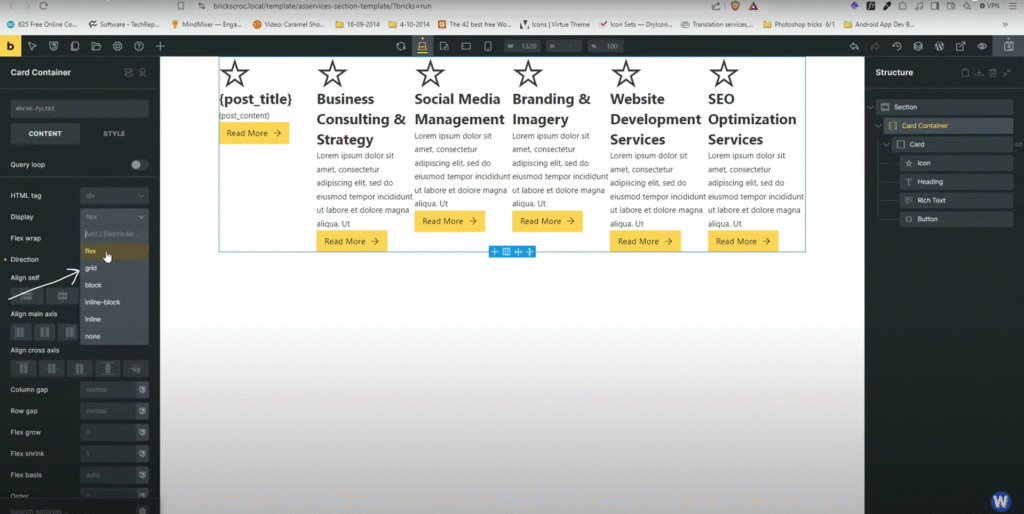
At this point, all boxes are in one column. To arrange them correctly, we need to change the card container from flex to grid. Set the grid to display three columns per row, and adjust the gaps between columns and rows as needed.
To enhance the visual appeal, change the background color of the page and the card elements. Set the card’s border radius to create a slight curve on the edges, and add padding to the card for a cleaner look.
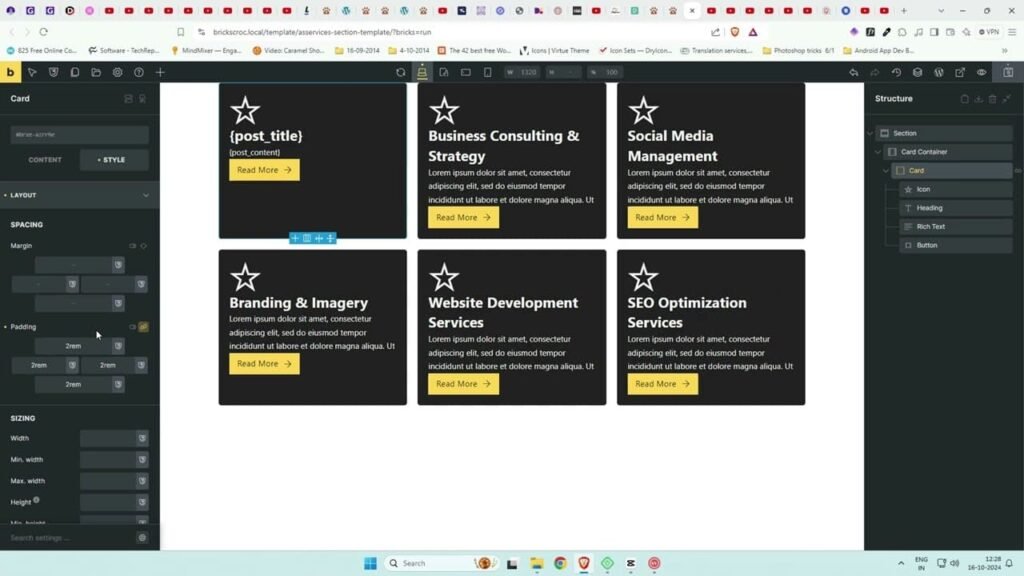
To ensure the design is mobile responsive, click on the tablet and mobile icons at the top. Adjust the padding in the card container element to prevent boxes from touching the screen edge. For mobile, change the columns to one for better readability.
Transitioning to JetEngine
Now, let’s explore the JetEngine approach. There are two methods to display JetEngine grids: using a similar method as above or taking advantage of a listing grid, which provides more flexibility.

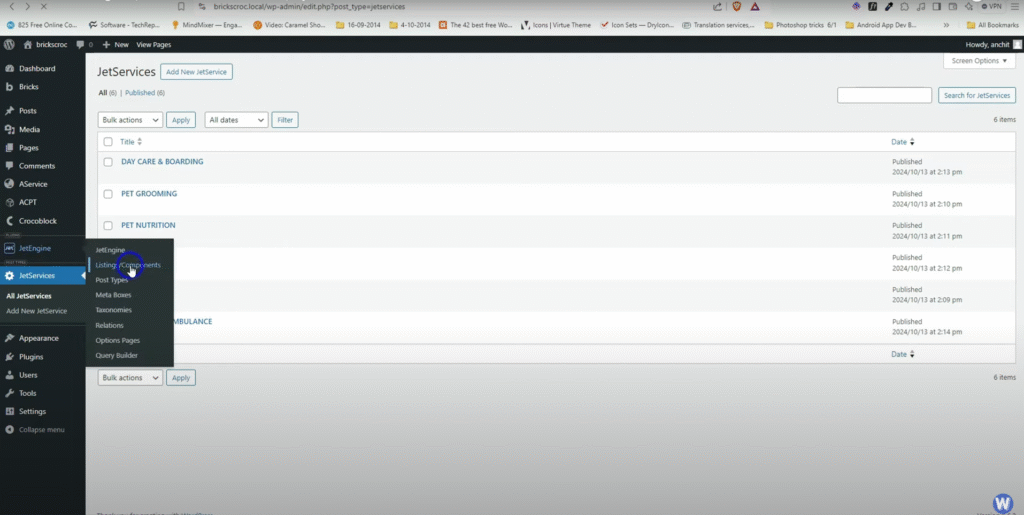
Click on the JetEngine menu in the left panel and navigate to post types. You should see the “JetServices” post type present. The process of creating this post type is very similar to ACPT, but JetEngine offers a more attractive UI.
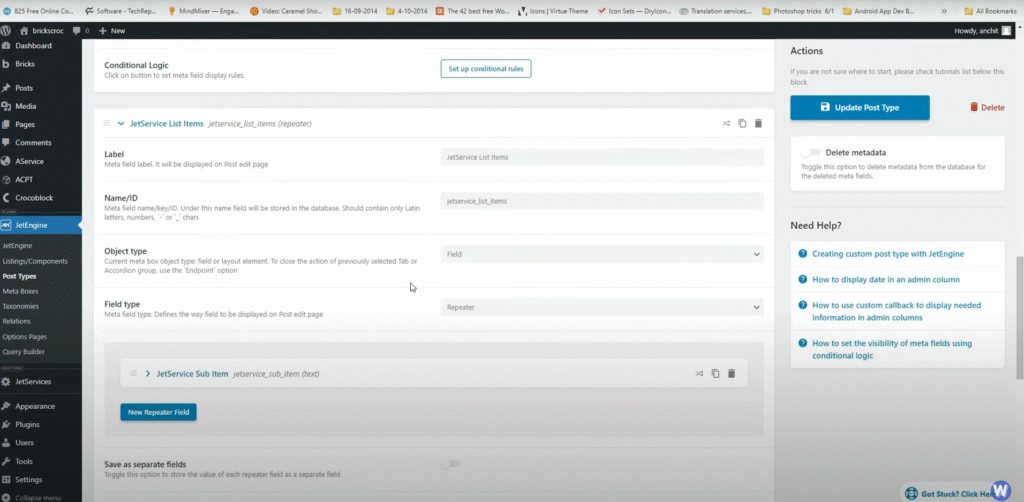
Within the post type screen, you can add meta fields directly. If you want fields to be used across multiple post types, it’s best to create them separately. For this example, we’ll add fields within the JetServices post type screen.
Click on “Edit” next to the JetServices post type. Here, you’ll find options for adding fields, including an image gallery and a list of services. Use a repeater field for the list items, which allows for more advanced capabilities than simple lists.
Creating the Template for JetEngine
Method 1: Next, we’ll check the template created for Jet Services. Click on “Edit with Bricks” to style the template. Similar to our previous approach, we’ll set the query loop to select JetServices post type instead of AServices.
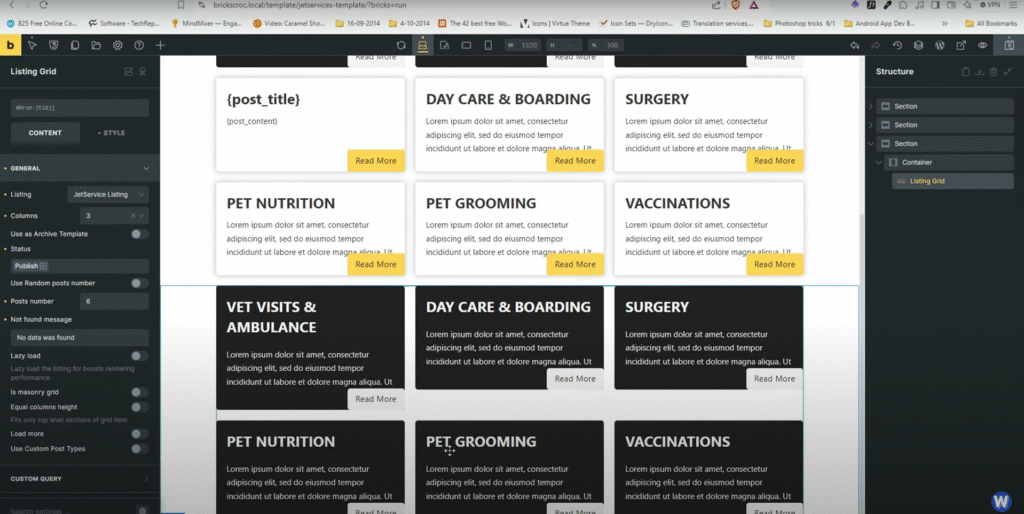
Method 2: To create a listing grid template, go to the JetEngine menu and click on “Listing.” Here, you can create a new listing template that will allow you to pull in the data from your Jet Services post type.
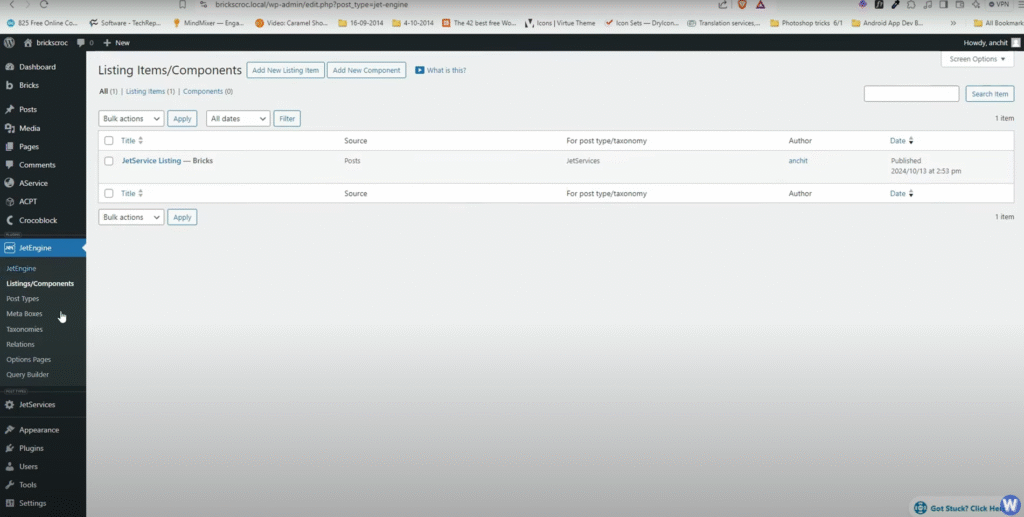
After creating the listing template, return to the Bricks template page and select the listing grid element, linking it to the Jet Services listing template. This method is faster and allows for more flexibility in design.
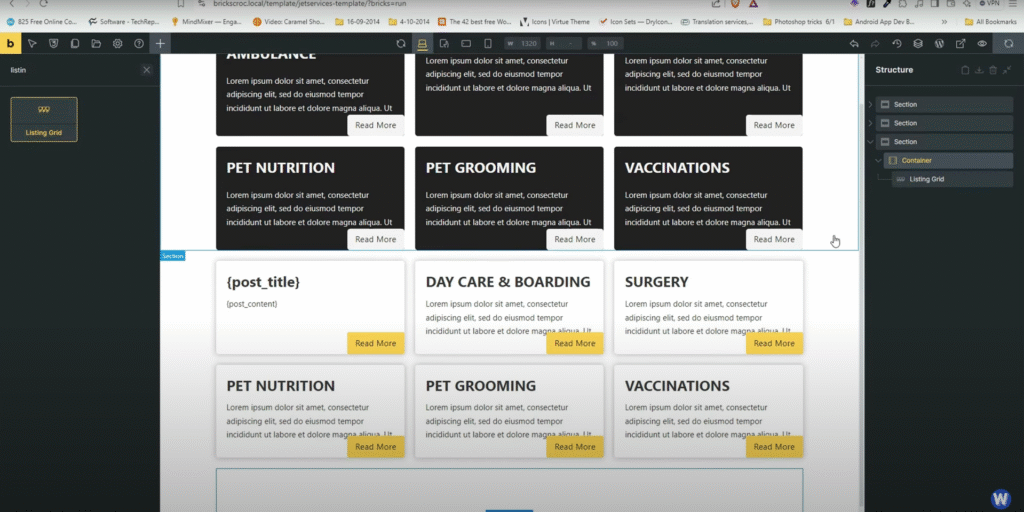
For each service, you can customize the design elements similarly to before, adjusting colors, shadows, and borders as needed. The JetEngine approach allows for dynamic data to be displayed through a more streamlined process.
Conclusion: Choosing Between ACPT and JetEngine
Both ACPT and JetEngine provide unique features and interfaces that cater to different user preferences. ACPT offers a more straightforward UI and is quick to understand, while JetEngine provides more advanced capabilities and flexibility through its listing grids.
Ultimately, the choice between the two will depend on the specific needs of your project and your comfort level with each tool. With this knowledge, you are now better equipped to make informed decisions when building dynamic sections in Bricks Builder.

